
The short answer
Use one clear subject per image, keep its face and distinguishing features visible, and assign the two images to the intended A/B roles. A clean background can help clarity, but our examples show that ordinary life photos can also work.
Start with the roles, not the screen positions
The photo in Subject A is used for the opening role. Subject B is the partner in the seaside sequence. Decide who you want in each role before uploading, then inspect the two thumbnails in the form together.
A camera cut can put the same subject on the opposite side of the screen. Assigning a photo because a person stood on the left in one frame is an easy mistake. Follow the sequence from the opening instead. If you prefer the reverse assignment, change the photos in the two slots before generating.
Keep the face and hairstyle readable
Choose a photo where you can recognize the person without zooming far in. Focus, even light and a clear view of the face matter more than an elaborate pose. Very close wide-angle selfies, deep shadow across one side of the face, strong beauty filters and motion blur can remove or distort useful details.
Leave the whole head and hairstyle in the frame. If the hairstyle is important to you, do not choose a crop that hides the hairline, side shape or ends. In our discarded examples, recognizable clothing sometimes remained while the hairstyle drifted. Matching a shirt color by itself is not a strong identity check.
A front or mild three-quarter view is a practical starting point. A strong profile gives less information about the other side of the face, which may later appear in the video. This is a selection guideline, not a guarantee that one camera angle will succeed every time.
Choose framing for the details you care about
A clear head-and-shoulders or upper-body photo makes facial detail easy to inspect. A full-body photo may be useful when an outfit is part of the intended look, provided the head is still large and sharp enough to read. There is no need to force every image into the same crop.
Keep important details inside the image rather than right against an edge. Leave a little space around the head, and keep hands away from the face. If clothing matters, include enough of it to distinguish the outfit. Do not ask the model to reconstruct details that are absent from the input.
| Photo choice | What to check |
|---|---|
| Close portrait | Whole head visible; no strong lens distortion |
| Upper-body photo | Face sharp; shoulders and outfit readable |
| Full-body photo | Face still clear at normal viewing size |
| Group photo | Choose or crop to one intended subject first |
Does the background need to be plain?
No. Example A on our homepage uses an indoor photo with objects in the background and an outdoor street photo. Both were used for the reviewed 480P result. A natural background is not an automatic reason to reject a picture.
Look for competing subjects instead: another face, a large portrait on the wall, a mirror reflection or a person crossing behind you can make the intended subject less obvious. Pick a different photo or crop carefully if that clutter overlaps the face or body.
We have not established that generatively redrawing every input onto a plain background improves this workflow. Such an edit can also change the face or hairstyle before video generation begins. Start with the original clear photo; do not treat background removal as a required extra step.
For animals, show the features that identify them
Use one animal per photo, with its face and characteristic markings visible. For a cat or dog, check the ears, muzzle, coat pattern and eye area. Avoid a hand covering the head, a toy obscuring the muzzle, or a distant pet that occupies a tiny part of the image.
A pet photo is not equivalent to a human portrait test. The human-style dance may alter body proportions, paws or movement, and markings can change across shots. The form supports people or animals, but our selected homepage examples A and B are adult human examples. They do not demonstrate equally reliable results for every species.
Prepare a usable file without unnecessary editing
The upload accepts JPEG, PNG and WebP files up to 8 MB each. Use the original image when you have it, rather than a small screenshot copied through several messaging apps. If a file is too large, reduce its file size while keeping the subject legible.
The input photo does not need to match the landscape output ratio. Portrait photos are shown without stretching in the preview. Open the large sample preview to judge the full image, not only the small thumbnail. A visible thumbnail confirms the selected file; it is not a prediction of the generated result.
A short check before spending credits
Place the two chosen photos next to each other. Can you tell which person or animal belongs to each role immediately? If one photo is much blurrier or more heavily edited than the other, improve that input first.
Change one uncertain choice at a time when comparing your own results. If you change both photos, output quality and role assignment together, it becomes difficult to learn what helped. Repeated generation can vary even with the same inputs, so one successful example does not establish a success rate.
- One intended subject in each image.
- Face or animal head unobstructed and in focus.
- Full hairstyle, ears or distinctive markings visible.
- A/B assignment checked against the opening of the example.
- Both previews loaded, with no important feature accidentally cropped.
- Permission to use the photos and depict the subjects confirmed.
When better photos are not enough
Good inputs reduce ambiguity; they do not eliminate model errors. If one scene misses a subject, if the final shot changes back, or if a face gradually changes, the problem may lie in the video generation rather than in an upload you can fix.
Review the whole result before deciding what to change. A higher-resolution export cannot restore an identity that was never generated correctly. Save the task details and describe the specific scene when contacting support; “the partner changes in the last few seconds” is more useful than judging only the cover frame.
Compare the photos with the complete result
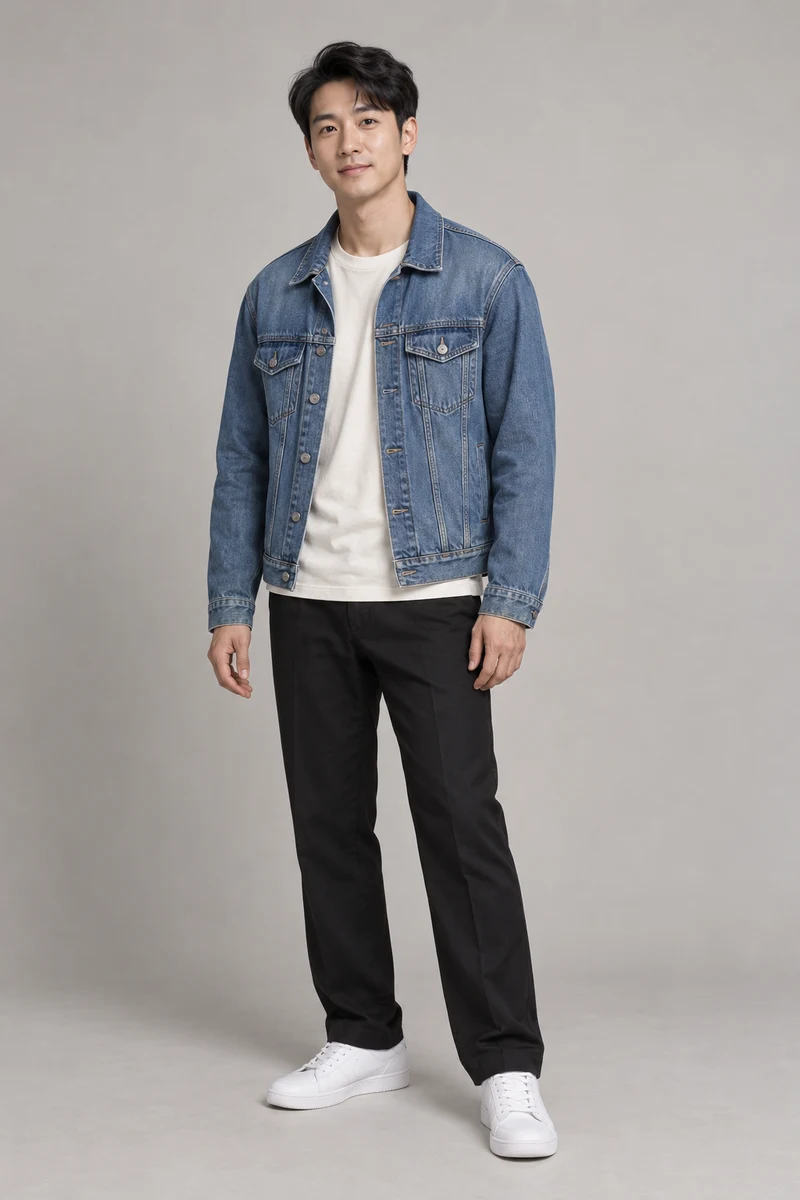
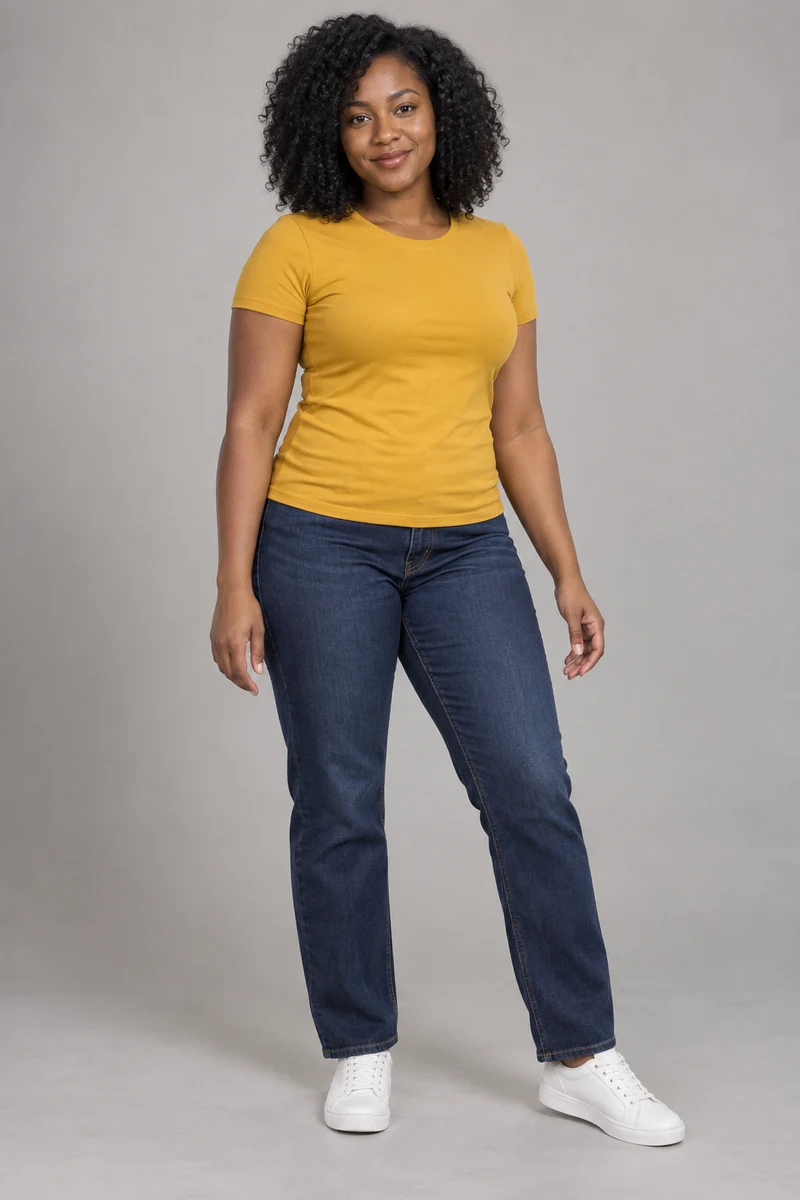
Example B pairs two fictional adult portraits with the resulting 768P clip. Compare the whole head and clothing with the close-ups; even a clean portrait is not a guarantee of unchanged appearance.
Questions about rain dance photo guide
Can I use an ordinary phone photo?
Yes, if the subject is clear. Example A uses everyday indoor and outdoor images. A busy background matters most when it obscures or competes with the intended subject.
Do the two photos need the same background?
No. They represent separate subjects, and the video supplies the seaside scene. Focus on the clarity of each subject rather than matching the two backgrounds.
Should I remove the background with another AI model first?
It is optional, not a proven requirement for this workflow. An image-editing step can also alter identity. Prefer a clear original unless you have a specific distraction to remove.
Will the output copy the exact hairstyle and outfit?
It may approximate them, but it can change hair, clothing and facial details. Check those features throughout the finished video, including the final shot.
Based on our own two-photo workflow tests and reviewed examples. Results vary by input and generation.
Ready to choose your cast?
Start with the two photos you want to use. Review the quality and credit cost before submitting.
Open the Rain Dance generator ↗Compare video qualities and pricing